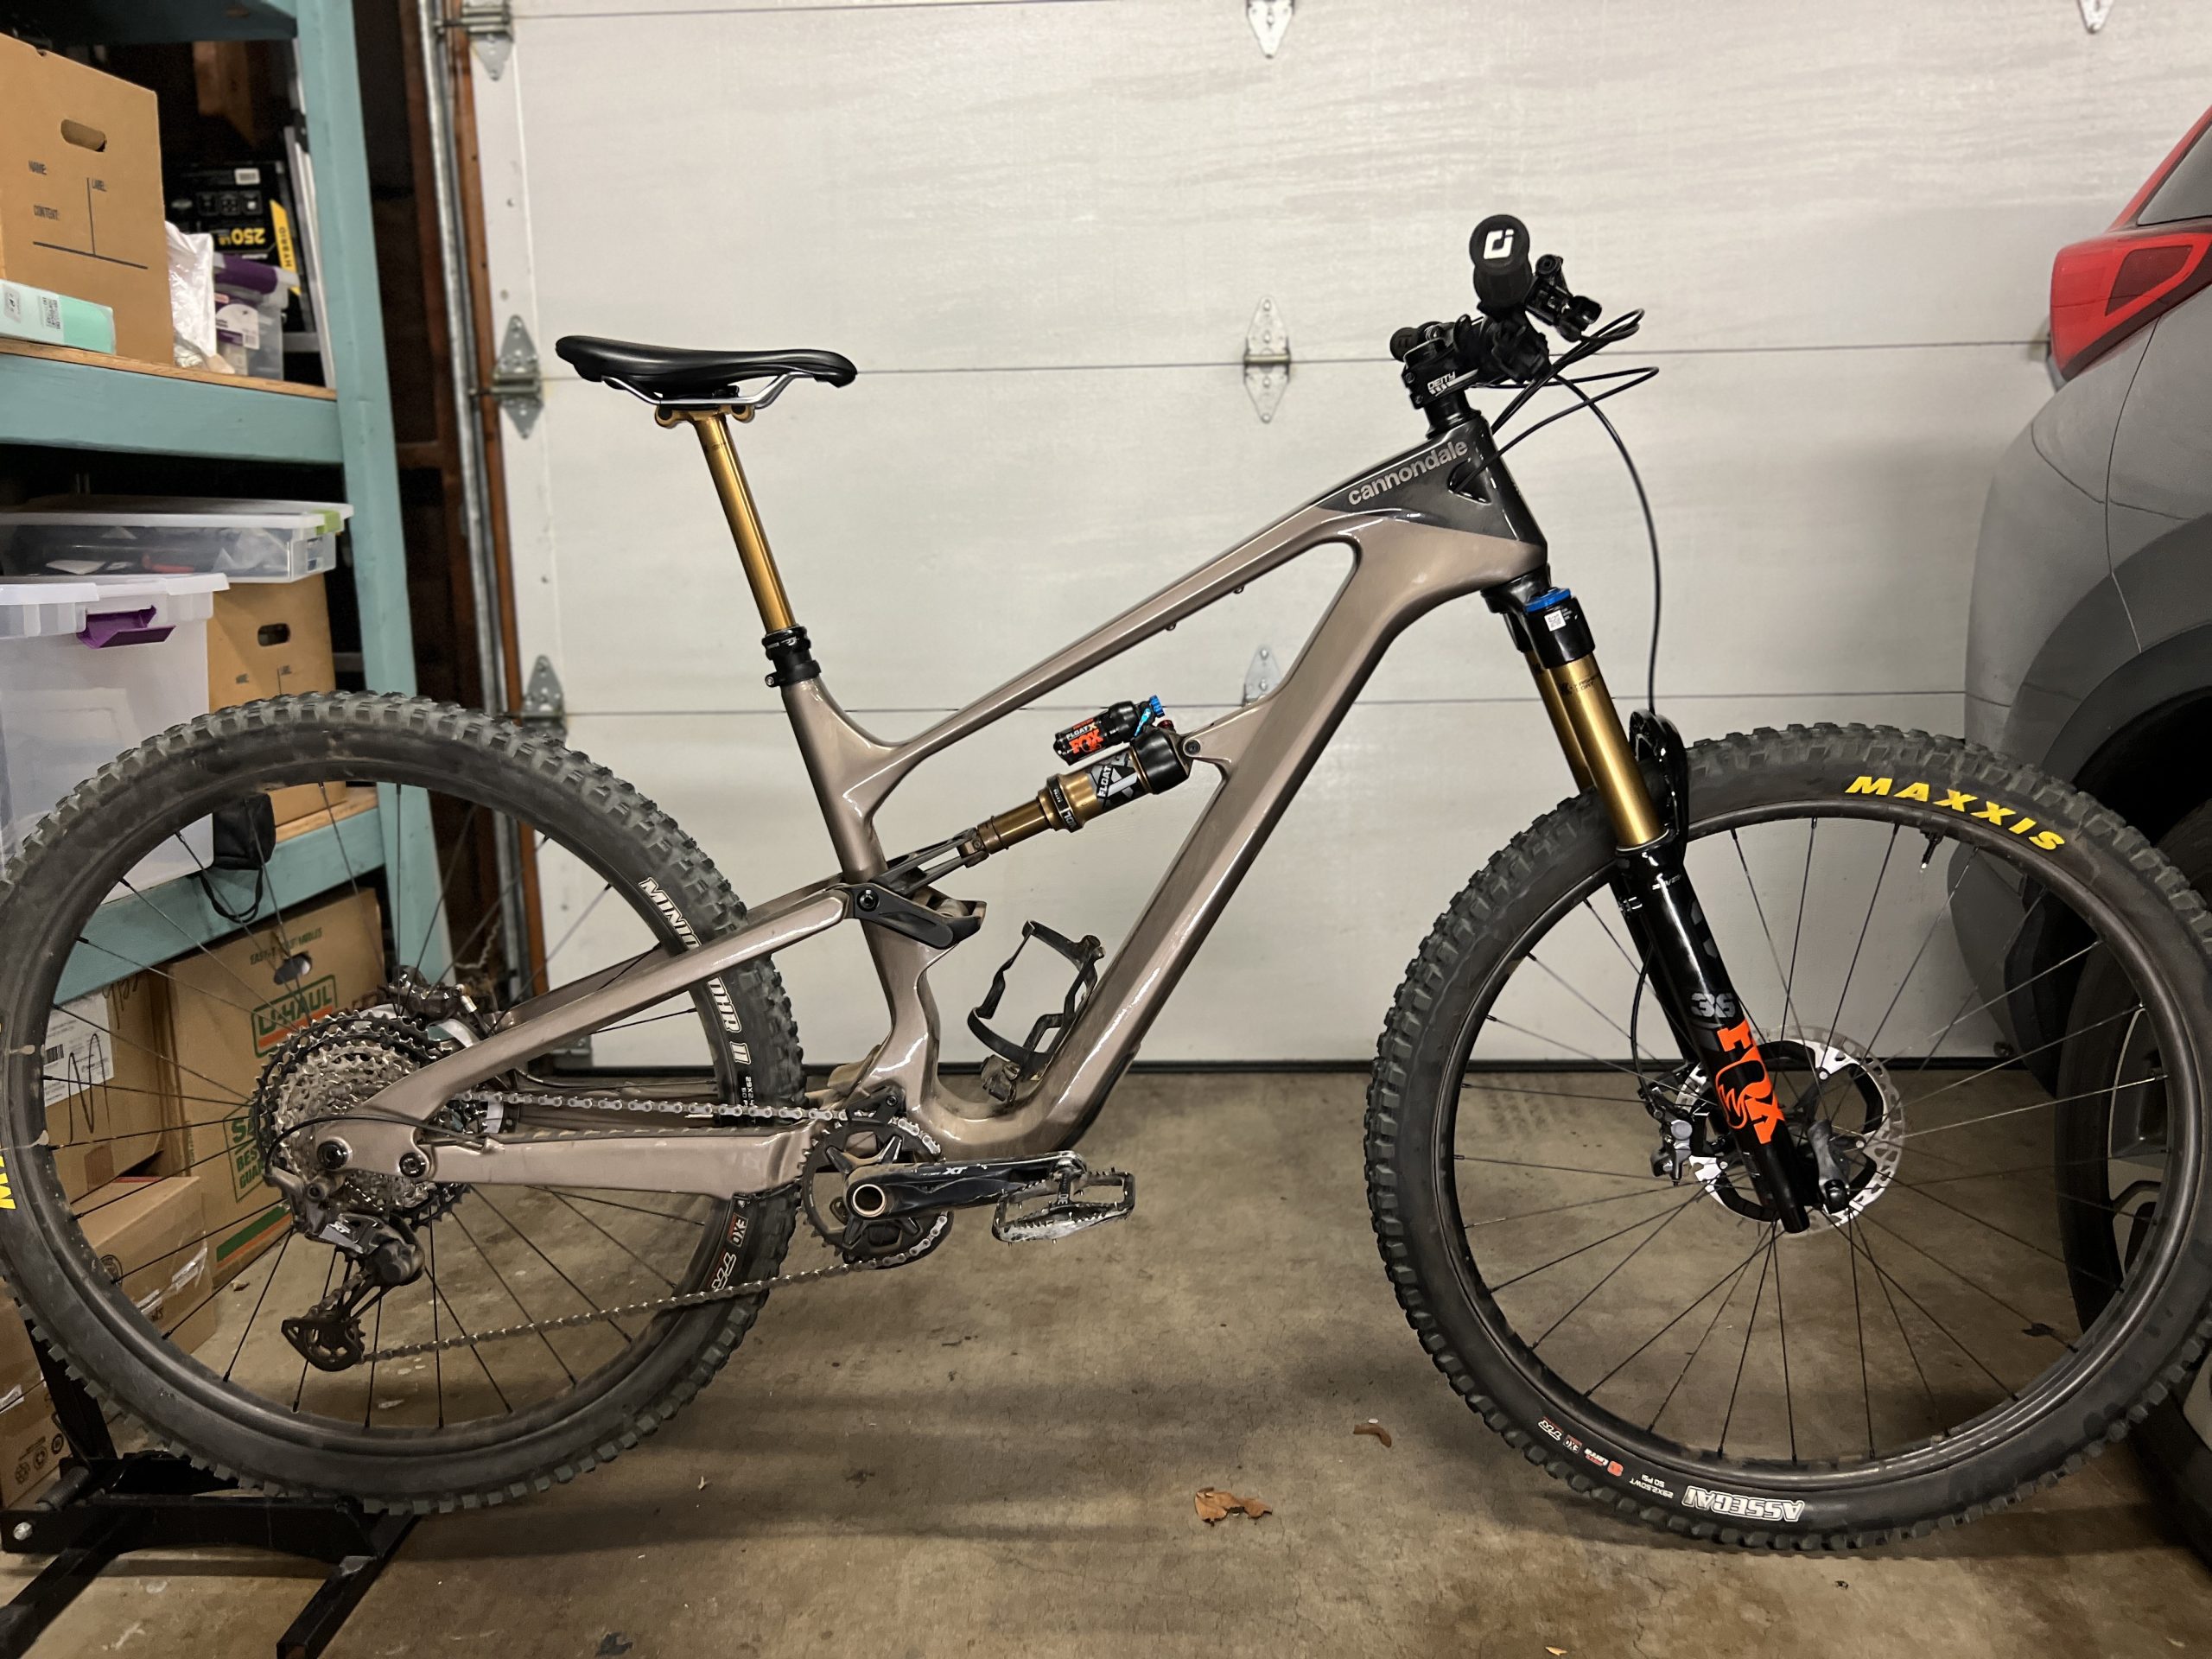
Installing Fox Float X volume spacers is fast and easy and can make all the difference in how your rear suspension feels on the trail
One of the easiest ways to customize the way your rear shock behaves is by changing volume spacers. It’s quick, relatively cheap, and can make your suspension work better for you.
Why change the volume spacers in a rear shock?
Without going too deep into air spring rates and air spring curves, adding volume spacers will make the suspension become more progressive. This means that if you have 2 shocks that are set at the same pressure but with a different number of volume spacers in each, the one that has more volume spacers would take more force to bottom out the shock.
How can this help me?
Let’s go through a couple different situations where volume spacers can be helpful
Before anything, set your shock sag
The first thing to do with almost any shock is to measure the sag after getting on your bike. There are a lot of good videos on setting sag so I won’t go into it here. Most bikes will have a recommended sag in their manual. The habit recommends 25% and says 13mm is closer to the Habit LT stroke but not for the Habit. 25% of the Habit’s 47.5mm stroke is 11.8mm and 25% of the Habit LT’s 55mm stroke is 13.7. Both are close enough to get you in the ball park.

Situation 1: I’m bottoming out my shock even though I am running the recommended sag
Now that the sag is set correctly on your bike, you go out for a ride on your normal trails and you look down and see that the travel o ring on your shock is all the way at the bottom of the shock. This should only happen occasionally if maybe you take a large drop that you don’t normally do or maybe slam your rear wheel into a large rock by mistake using all your travel. If you find that you are using all of your travel pretty often, then this is when you would use volume spacers. By adding volume spacers, you won’t change your sag much at all, but you will have more resistance to bottom outs.
Situation 2: I’m only using 50% of my travel, even when I hit big drops
Again, check that the sag is correct first. Using only 50% of your travel isn’t great because it means you bought this highly capable bike but are only using 50% of its capability. If this is happening, the first thing you can do is remove or replace the volume spacer with a smaller volume spacer. This will reduce the bottom out resistance allowing you to use more of your travel
How to change the volume spacers
First remove the air valve cover off from the backside of the shock. Using a small tool, slowly release a small amount of air from the shock. Don’t release all of the air at once. After letting out a small amount of air, compress the shock slowly by pushing down on the seat. You should hear a small hiss when the negative chamber equalizes. Repeat these steps a few times until all of the air is let out of the shock.

Once you confirm all of the air is out of the shock, twist the air canister counter clockwise to unthread it

Once unthreaded, pull it apart from the body shaft and the bumper. Slide the bumper and the metal plate down into the cannister and then you should see the volume spacer which should be a brightly colored plastic piece


Reach in and you should be able to dislodge and remove the volume spacer. Take note of the orientation because it will need to go in the same way


The volume spacer should have a number on it indicating the volume. This one says 0.2in^2

I plan to increase the volume spacer to the next larger size which is 0.4in^2, the blue one below. The Float X also allows you to stack the 0.1in^2 volume spacer with the other spacers letting you increase by .1in^2.

The side with the volume indication text will be facing towards the cannister. The keyway cutout also should fit only one way and should make the volume spacer fit snug without being able to rotate


Once the volume spacer is in, push the cannister back up to the body and thread it back together. It should be snug using your hands and shouldn’t require additional tools

Re-inflate the shock to the desired pressure. You should also incrementally cycle the shock maybe at 50 PSI intervals, by pushing down the shock a couple times at each increment

And just like that, you’re done and ready to get back and ride!
