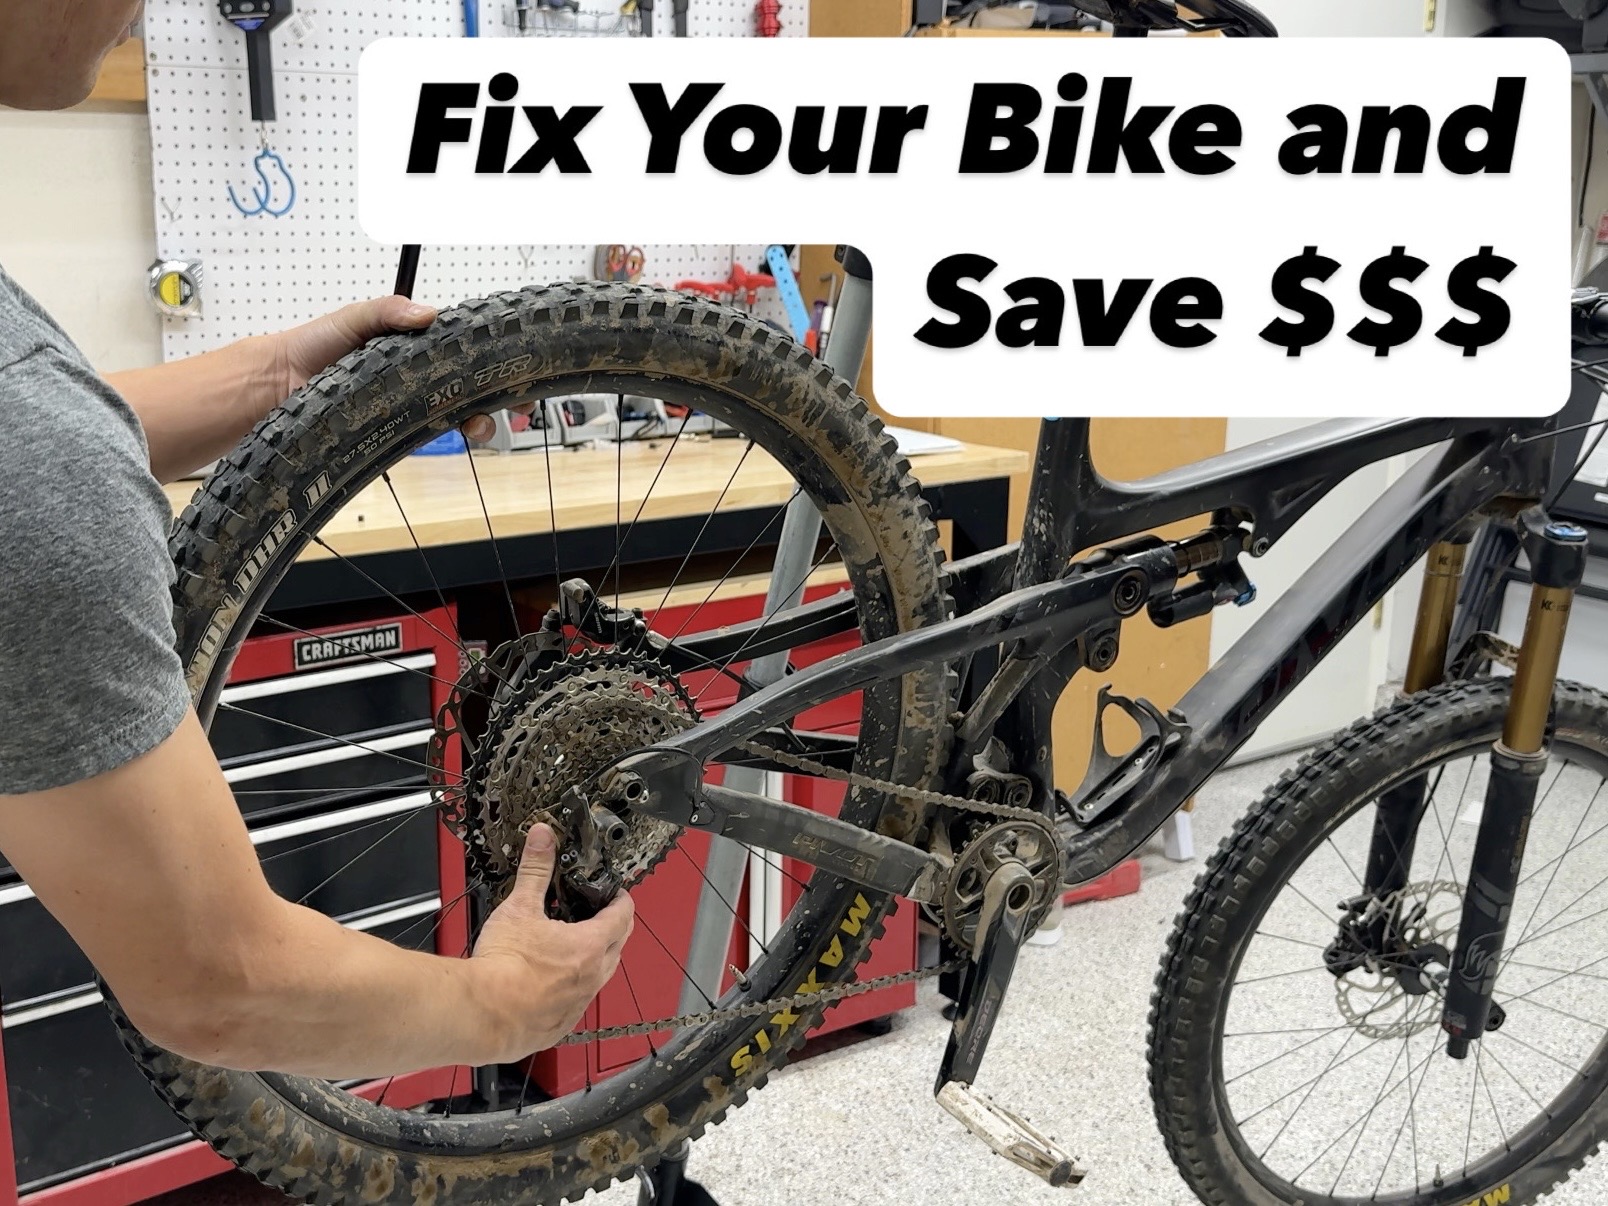
Is your bike in need of some repairs, but you’re shocked by the high price tag from the bike shop?
I recently came across a $940 repair quote to fix my friend’s bike, and I knew we could do it ourselves for a fraction of the cost. In this post, I’ll walk you through the steps we took to complete the necessary bike maintenance, save hundreds of dollars, and keep the bike running smoothly. Doing bike repairs yourself isn’t just about saving money—it’s also a satisfying way to learn more about your bike and make sure everything is in top shape.
The Original Repair Quote Breakdown
Looking at the original repair quote, here’s what the bike shop suggested and their estimated costs:
Repair DescriptionPart CostLabor CostReplace Rear Tire$25Add Tire Sealant$14$20Replace Chain$33$25Bleed Brakes (Front and Rear)$130Replace Brake Pads$27$20Replace Rear Rotor$40$20Tune Rear Derailleur$45Rebuild Headset$50Inflate Dropper Post$25Grease Frame Pivots$75Rebuild Fox Fork$30$115Rebuild Rear Shock$50$200Sub Total****$194****$730Total with Tax$940
Step 1: Evaluate the Bike & Determine Necessary Repairs
Before we even started the repairs, we took a close look at the bike to evaluate its condition and think about how it would be used. Understanding the bike’s needs is crucial, as some repairs are more urgent than others. Here’s what we determined:
- Rear tire: The tread was worn down and definitely needed replacing.
- Brakes: The brake pads were worn and needed to be swapped out.
- Headset: A little creaking from the headset meant it needed a quick rebuild.
- Seatpost: The dropper seatpost wasn’t returning all the way up, so we needed to add air to fix that.
By focusing on the essential repairs, we kept the costs down, avoiding unnecessary work like rebuilding the shock or fork, which wasn’t a priority for my friend’s fitness-oriented use of the bike.
Step 2: Rear Tire Replacement
The first repair we tackled was the rear tire. The tread was worn down, so we decided to swap it out for a new Maxxis DHR II tire. This tire was a direct replacement, ensuring we kept the same traction and durability.
Sealant was also added to the new tire, which is essential for preventing flats and ensuring long-lasting tire performance. I used Stan’s Tire Sealant, which is easy to apply and works well for tubeless setups.
The cost for this repair was:
- Tire: $60
- Sealant: $20
Total: $80
Step 3: Brake Pad Swap
Next, we moved on to the brakes. We removed the old brake pads and pushed back the pistons to make room for the new pads. While replacing brake pads can seem like a daunting task, it’s actually simple. We installed new SRAM brake pads and made sure everything was securely in place with the brake pad bolts and safety clips.
The cost for this repair was:
- Brake Pads: $27
Total: $27
Step 4: Headset Rebuild
With the front wheel off, I took the opportunity to rebuild the headset. Over time, headsets can get gritty, causing a creaky feel when turning the handlebars. By loosening the stem bolts, removing the top cap, and cleaning the bearings, I was able to re-grease everything and get it running smoothly again. This is a simple fix, but it makes a huge difference.
This repair didn’t cost anything extra since we just cleaned and greased the existing bearings.
Step 5: Fixing the Seatpost
The next issue was the dropper seatpost, which wasn’t returning to the top. Usually, dropper posts need more air to function properly. To add air, I removed the seat, took off the rubber dust cover, and accessed the air valve. Using a shock pump, I inflated the post to the recommended pressure (250-300 psi). After a few quick tests, the seatpost was functioning properly again, returning smoothly to the top every time.
This fix didn’t cost anything extra, as we just needed to add air.
Step 6: Chain Replacement
Finally, we replaced the chain. I used the old chain to size the new one, ensuring it was the right length. If you’re not sure about sizing, it’s always a good idea to go through the proper chain sizing process. Once the new chain was installed, I went through all the gears to make sure it shifted smoothly. A couple of quick turns on the barrel adjuster, and everything was dialed in.
The cost for this repair was:
- Chain: $33
Total: $33
Final Costs & Savings
Looking at the bike repair quote of $940, here’s how much we spent on parts:
- Rear Tire & Sealant: $80
- Brake Pads: $27
- Chain: $33
Our total for parts came to $215, which is a huge saving compared to the original $940 quote. By doing the work ourselves, we saved over $700—and the best part is that the repairs were not difficult at all!
Why DIY Bike Maintenance is Worth It
With the right tools and a bit of time, handling these repairs yourself is not only a great way to save money but also an incredibly satisfying experience. You’ll learn more about your bike, become more self-sufficient, and be able to tackle future repairs without hesitation.
Final Thoughts
Doing your own bike maintenance can seem intimidating at first, but with a few simple repairs, you’ll see how easy it can be to keep your bike in great condition while saving a lot of money. Plus, knowing you can fix your bike whenever an issue arises is a great feeling.
Thanks for reading, and if you found this post helpful, don’t forget to subscribe and check out the links to the parts and tools I used. Happy riding!
Links to Parts and Tools:
Maxxis DHR II Rear Tire : https://amzn.to/4gHYLQx
Stan’s Tire Sealant : https://amzn.to/3CNfMLg
SRAM Brake Pads : https://amzn.to/3EKPxFJ
ODI Elite Grips: https://amzn.to/417IZII
Park Master Link Pliers: https://amzn.to/4hIbO5L F
ox Shock Pump: https://amzn.to/4hISAwT
Shimano SLX 12 Speed Chain: https://amzn.to/412fkRb
Park Tire Levers: https://amzn.to/4hIspGy
Grease Gun: https://amzn.to/4b9FN4c
Park Grease: https://amzn.to/4gH32na